I couldn't believe when using Elements I never seemed to be able to draw a shape and just have an outline appear. The shape drawn always loads with a fill - as usual with thanks to the interweb I found some solutions - solutions since I found another problem along the way!

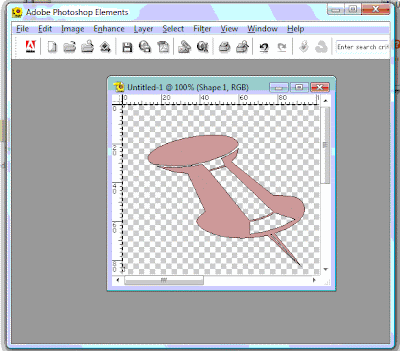
Ok so I have a filled image here - to get rid of the fill click on the shape tool again, on the tool bar select the style drop down - from the drop down click on the little double right arrows at the top right of the window that opens, select visibility and then select hide - you should then see your shape appear as an outline - at this point the shape is literally hidden, so although you can see an outline if you were to save the image there would be nothing there.
The next step is to use the stroke tool to outline the shape. This is where I initially had a problem, every time I tried to use Edit->Stroke the Stroke item was disabled/greyed out.
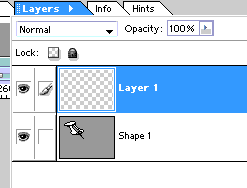
So.. add a new layer - you now have a shape layer and a new layer. Select the new layer, and then while holding down the control key left click on the shape thumbnail layer.

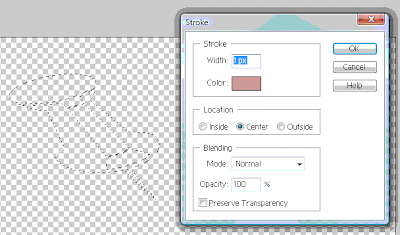
You should see your shape outline highlighted for selection. It is now possible to use the edit->stroke command.

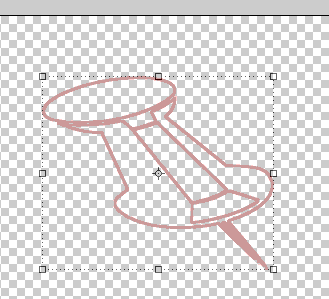
From here you select the width of the new outline you want, color, the location of the outline and blending. Press OK to go. You now have an outline on the new layer you added. You can now infact delete the shape layer and continue to work with your outline that resides on the new layer added.

Thanks for the information it helped. Who designed a picture system this crappy. Adobe?
ReplyDelete